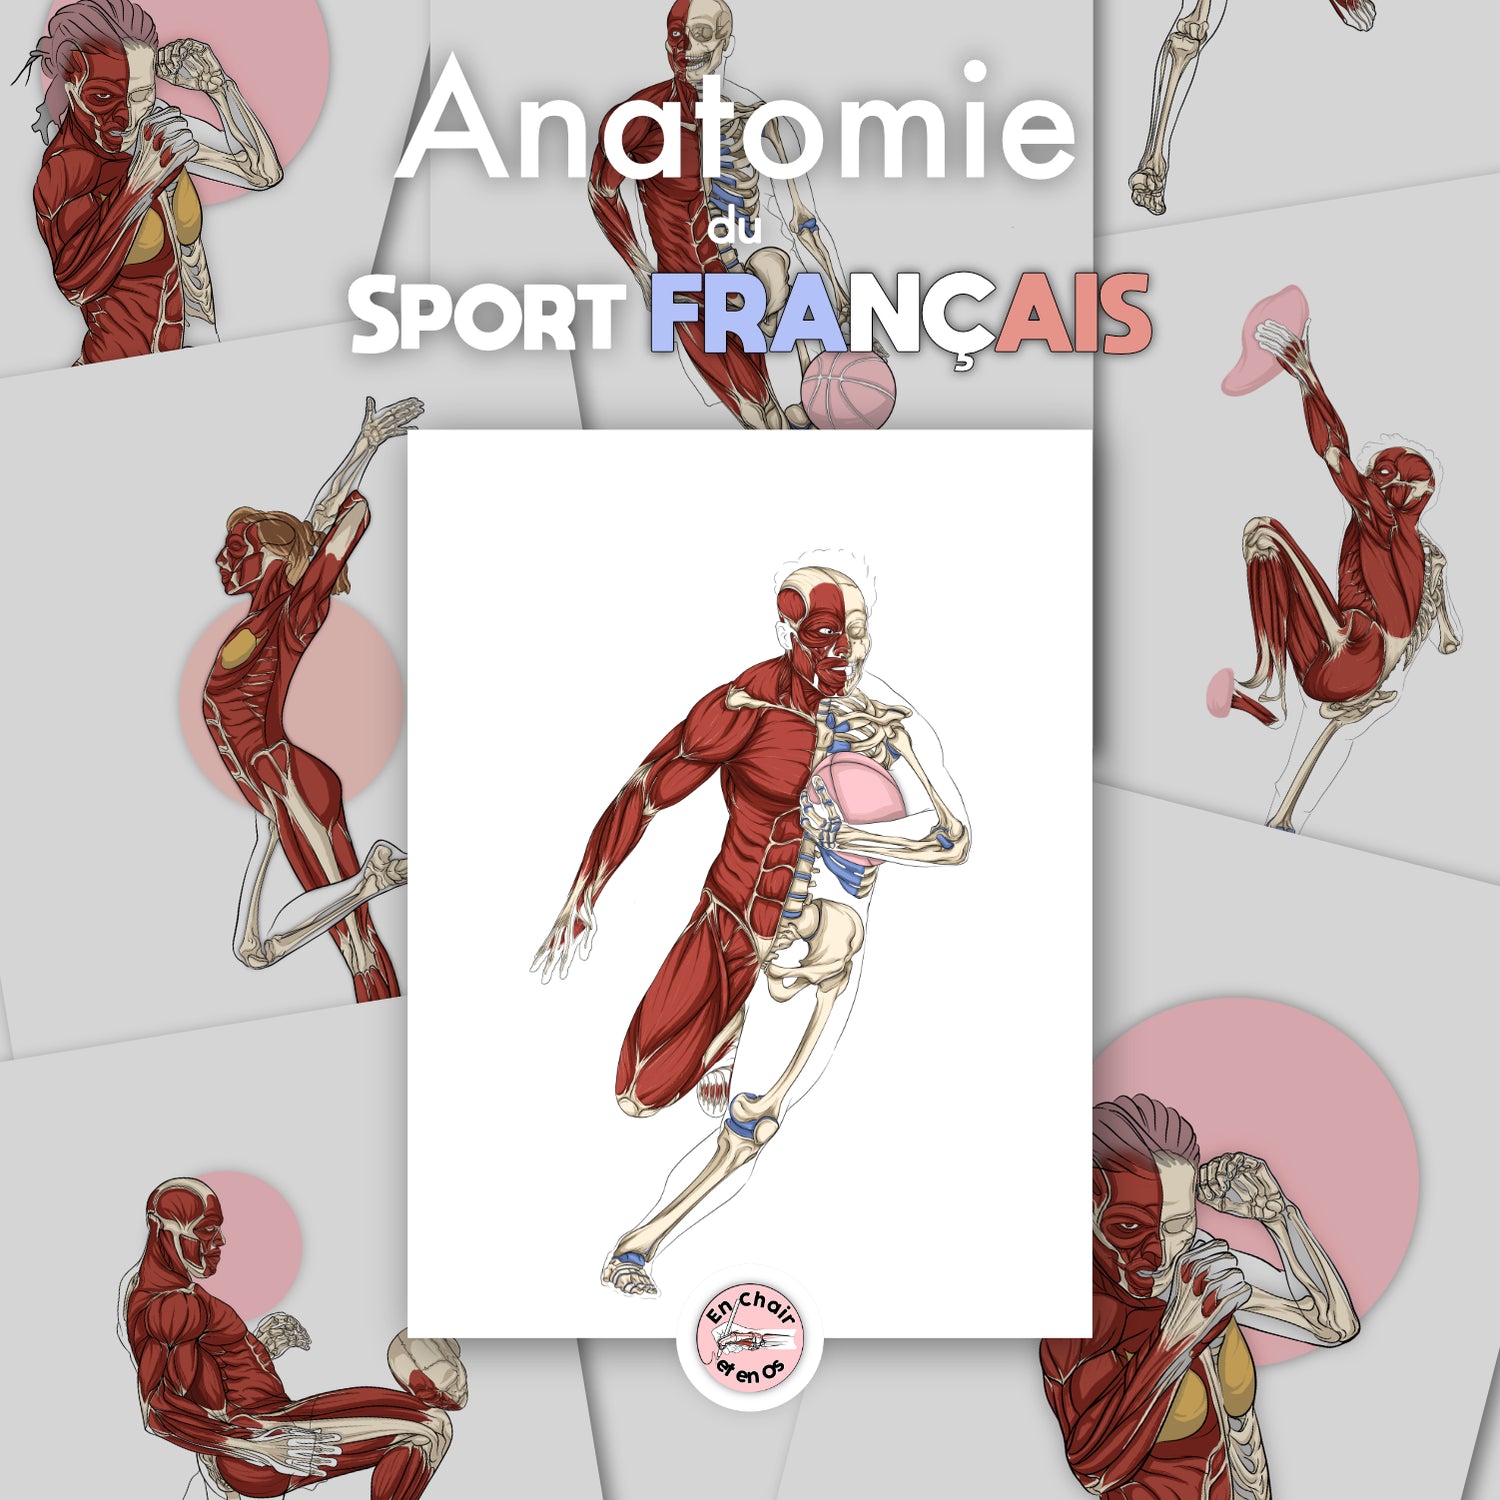
A kick, a moment frozen in time… and a new poster to enrich the En Chair et en Os collection.
🛒 Discover the Rugby Poster - Wilkinson
In this article, I’ll take you behind the scenes of the creation of the anatomical study of the famous rugby player Johnny Wilkinson, shown in full action during his iconic gesture: the place kick. As with every anatomical drawing, this visual is designed to combine a passion for sport with anatomical rigor. A true drawing challenge, and an excellent exercise for exploring anatomy in motion.
Why Johnny Wilkinson?
This poster was born from a custom order placed by Alexandre Douwma. He was the one who chose the photo that, in his eyes, best embodied Johnny Wilkinson: focused, balanced, at the decisive moment of the kick. An ideal posture to bring out muscular tension, footing, and the mechanics of the movement.
Step 1 – Finding the right photo
As always, everything starts with choosing a clear, dynamic, and readable still image. I needed a photo where Wilkinson is in the kicking position, torso slightly tilted forward, supporting leg well-anchored, arms in opposition.
This choice is decisive: it sets the stage for the entire anatomical construction.

Step 2 – Breaking it down into simple shapes
Before drawing a single muscle, I reduce the body to simple geometric shapes: an egg for the ribcage, a trapezoid for the pelvis, cylinders for the limbs. This construction stage allows me to lay the foundations of the movement and verify the balance.

Step 3 – Placing the skeleton
On this simplified structure, I redraw the skeletal framework. The challenge: adapting classic anatomy to an asymmetrical and dynamic posture. I have to visualize what is hidden under the skin — collarbone, shoulder blade, spine, pelvis, femurs — using palpable landmarks to guide me.

Step 4 – Drawing the muscle masses
I then move on to the main muscle groups: quadriceps, hamstrings, calves, deltoids, etc.
Every contour visible in the photo must correspond to a real structure. However, I often have to interpret and adapt. An athlete's anatomy varies according to their physique, the type of effort, and the captured moment.

Step 5 – Cleanup and coloring
Final step: tracing, refining, and coloring.
The goal: a readable and aesthetic result, faithful to anatomy, but visually accessible. I play with contrasts, volumes, and muscular tension… while maintaining a sleek style.

Final result
This visual is available in three sizes (A4, A3, A2), on high-end, recycled, and Imprim'Vert certified paper.
It is just as suitable for display in a medical or paramedical office as it is for a gift to a rugby fan or a sports professional.
Thank you for reading!
And if you would like a personalized anatomical study of your own (based on your sport, your posture, or your profession), please don't hesitate to contact me.
To receive more behind-the-scenes content or anatomical resources, you can also sign up for the En Chair et en Os newsletter.
See you soon,
Axel – creator of En Chair et en Os